Printing UV-Resistant Replacement Caps for Irrigation Valve Boxes
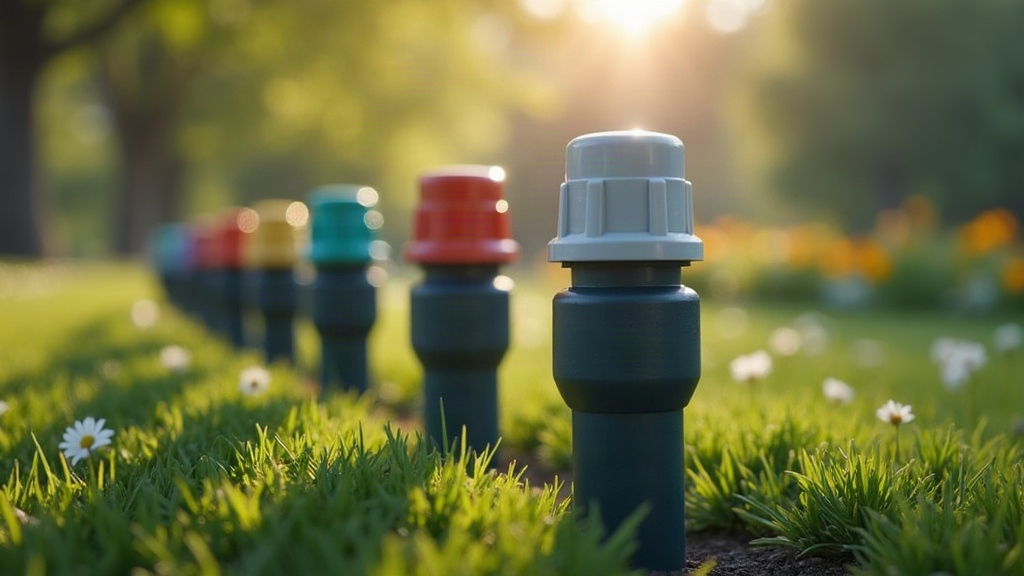
Why Your Printed Valve Box Cap Keeps Failing (And How to Fix It)
Cracked, faded, or flat-out missing irrigation valve box caps are one of those small backyard headaches that never seems to go away. A lawnmower clips the edge, the sun bakes the plastic brittle, and that cheap lid warps or snaps within a season or two. Sound familiar? The fix is simpler than you’d think: with a 3D printer and the right UV-stable filament, you can print a replacement that fits your exact box, matches the original shape, and actually lasts years in the sun instead of months.
Why Standard PLA and PETG Caps Fail Outdoors
Most hobbyist filaments were never designed for constant UV and heat. Here’s what usually happens:
- PLA turns brittle and chalky after just a few months outside, then cracks the first time a mower wheel clips it or someone steps on it.
- PETG fares a bit better, but it can soften in hot climates. Valve boxes often sit on dark soil in full sun, and that soil radiates extra heat right back up into the plastic.
- Standard ABS has no built-in UV resistance. Without stabilizers, it yellows fast and loses impact strength within a summer.
If you’ve ever printed a cap, felt good about it in April, and found it crumbling by August, this is exactly why. It wasn’t your print settings. It was the material.
Best Filaments for UV-Resistant Valve Box Caps
ASA (Acrylonitrile Styrene Acrylate)
ASA is basically the outdoor answer to ABS. Think of it as ABS with sunscreen built in: the UV stabilizers in the resin keep it from yellowing or going brittle nearly as fast. It also handles heat buildup well, which matters when your valve box is a dark plastic shell baking in direct sun all afternoon.
UV-Stabilized PETG
A few filament makers now sell PETG blends with UV inhibitors mixed in. These print a lot easier than ASA (minimal warping, no enclosure needed, no funky smell), making them a good middle ground if you’d rather skip the fumes and extra setup that ASA demands.
Polycarbonate (PC) Blends
Honestly, overkill for most backyards. But if you’re repairing valve boxes on a commercial property, say a golf course or an HOA irrigation system that gets driven over occasionally, a PC-ASA blend gives you both UV resistance and serious impact strength.
Practical recommendation: For a standard 6-inch or 10-inch residential valve box lid, round or rectangular, ASA hits the right balance of durability, cost, and ease of printing.
Designing the Cap for a Proper Fit
- Measure twice. Pull off the broken cap and get the inner lip diameter (or width, if rectangular), the depth of the recess, and the wall thickness of the original. Calipers make this much easier than a tape measure.
- Add tolerance. Design the print about 0.2 to 0.3mm smaller than your measured opening. Filament shrinks slightly and layer lines add a bit of bulge, so this margin saves you from a cap that won’t seat. Sand the edges afterward if it’s still too snug.
- Build in a lip or snap-fit lock. A lot of valve boxes rely on a tab-and-slot setup or a simple friction-fit rim. Model roughly 0.15mm of interference into that fit so the cap stays put through wind gusts and mower vibration, no glue needed.
- Account for ground slope. Boxes installed on a slight grade shouldn’t get a flat cap. Add a slight dome or angle so rainwater runs off the seam instead of sitting there and eventually seeping in.
- Add drainage. Drill or model in two or three small weep holes, about 2-3mm each, near the bottom edge. Without them, water collects inside after every rain and just sits there.
Print Settings That Matter
- Enclosure: ASA warps badly if it’s exposed to drafts mid-print. Use an enclosed printer, or rig up a cardboard box around your machine if that’s all you’ve got.
- Bed and nozzle temp: Aim for a bed around 100-110°C and nozzle temps between 240-260°C, depending on the brand you’re using.
- Infill: 30-40% is plenty. Cranking it higher just adds more surface area exposed to UV without meaningfully improving strength.
- Wall count: Go with 3-4 perimeters so the cap can actually take a mower strike without shattering.
- Color: Darker colors like black, dark green, or brown absorb more heat, but they also hide UV fading far better than light gray, which tends to chalk visibly after a year or two outside.
Post-Processing for Extra UV Protection
Even filament rated for UV resistance benefits from a little extra help:
- Clear UV-resistant spray coatings, the same kind used on outdoor signage, can add several more years of color retention.
- Matte vs. gloss: matte finishes do a better job of hiding the early stages of UV chalking than glossy ones, which show dulling more obviously.
- Tape off your drainage holes before spraying. It’s an easy step to forget, and a sealed weep hole defeats the whole point.
When to Just Buy a Replacement Instead
If your valve box is a mainstream brand, Rain Bird, NDS, Orbit, buying a stock lid might genuinely be faster and cheaper than modeling your own. 3D printing earns its keep when:
- The box is an odd size or an older, discontinued shape you can’t find parts for anymore
- You want a specific color to blend in with surrounding landscaping or mulch
- You’d like extra features built in, like a padlock tab or raised lettering to label irrigation zones
Conclusion
The success of a 3D printed valve box cap really comes down to one decision: the material. Skip PLA, skip plain ABS, and go with ASA or a UV-stabilized PETG if you want something that survives real seasons of sun, heat, and lawn equipment abuse. Measure carefully, build in a snap-fit and a couple of drainage holes, and throw on a UV topcoat if you want extra years out of it. Do that, and there’s a good chance your printed cap outlasts the factory one it replaced.