How to Print Bee-Safe Entrance Reducers for Mason Bee Houses
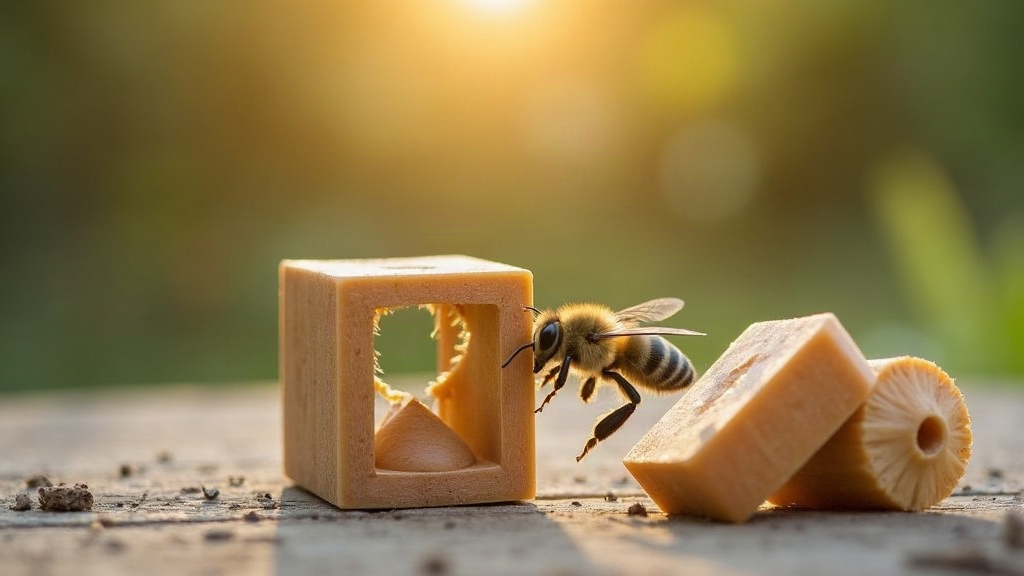
Printing your own entrance reducers for mason bee houses is one of those small upgrades that pays off way out of proportion to the effort. You get to dial in the airflow, keep earwigs and ants from crawling in and ruining a brood, and make your nesting tubes last longer. And you do it for pennies compared to what commercial reducers cost. Here’s how to design, print, and install them so they actually work the first time.
Why Mason Bee Houses Need Entrance Reducers
Mason bees (Osmia species) are about as gentle and efficient as pollinators get, but their nesting tubes are soft targets for a handful of predictable threats:
- Parasitic wasps and pollen mites, which slip through openings that are just a bit too wide
- Earwigs and ants, which crawl in to eat larvae or raid pollen stores
- Excess moisture, which breeds mold and kills developing larvae before they ever hatch
- Woodpeckers and other birds, which peck straight through tubes to get at the cocoons inside
A well-made entrance reducer narrows the opening just enough to keep the bigger pests out, while still letting mason bees (usually 8 to 10mm across the body) pass through without any trouble.
Key Design Principles for a Bee-Safe Reducer
1. Correct Hole Diameter
Mason bees need openings somewhere between 5.5mm and 8mm, depending on the species you’re hosting. Get the diameter right and the rest follows:
- Match whatever tube diameter you’re already using (6mm and 8mm paper tubes are the most common)
- Don’t taper the opening too aggressively; a sharp funnel shape can snag a wing or a leg
- Keep the edges smooth and burr-free. This matters more than people think with 3D printed parts
2. No Sharp Infill Lines or Overhangs
FDM printers tend to leave rough layer lines at small scales, and that’s a real problem when a bee’s entire body is squeezing through the hole every single trip:
- Print the hole along the Z-axis whenever you can. It gives you the smoothest possible wall
- Run 100% infill right around the hole opening, but 20-30% is plenty everywhere else
- After printing, hand-ream the hole with a 6mm or 8mm drill bit (no power tools, just by hand) to knock down any ridges
3. Ventilation Slots
Cut 1-2mm micro-slots around the perimeter of the reducer, well away from the tube opening itself. This lets condensation escape without opening a backdoor for pests.
Choosing Bee-Safe Filament
Not every plastic belongs on something bees will be crawling over and through, day after day:
| Material | Safety Notes | Weather Resistance |
|---|---|---|
| PETG | Low odor, UV-stable, generally the best pick | Excellent |
| PLA | Biodegradable, but starts softening above 50°C | Moderate |
| ABS | Skip it. Stronger fumes while printing, worse for the environment | Good |
| TPU | Good for flexible gaskets, not for structural pieces | Excellent |
Recommendation: go with PETG for the body of the reducer. It holds up in direct sun without warping and doesn’t break down quickly in rain. Whatever you print, let it off-gas in a ventilated space for 48 hours before it goes anywhere near a bee house, especially if you used PLA.
Step-by-Step Printing Process
- Measure your existing tubes first (both the diameter and the wall thickness matter here).
- Model the reducer in a free CAD tool like Tinkercad or Fusion 360. You’re making a thin disc, about 2-3mm thick, with a center hole sized to your tube and a friction-fit lip that snaps onto the tube’s end.
- Slice at 0.12mm layer height so the hole wall comes out smoother.
- Orient the print flat-side down, hole facing up, to keep overhangs to a minimum.
- Post-process by deburring the hole with a round file or drill bit, then wash with mild soap and water and let it air dry completely.
- Test-fit one reducer on a single tube before you commit to printing a whole batch.
Installing the Reducers
- Press each reducer onto the tube opening. If your friction-lip measurements were accurate, it’ll sit snug with no glue needed.
- Face the bee house southeast and tuck it under an overhang, so rain doesn’t hit the reducers and tubes directly.
- Check your reducers every spring, before the new generation of mason bees emerges, and swap out anything that’s gone yellow from UV exposure or cracked.
Common Mistakes to Avoid
- Hole too small: the bees simply can’t get in, and they’ll move on to somewhere else entirely.
- Hole too large: you’ve defeated the whole point, since pests will still squeeze through.
- Printing ABS indoors: the fumes won’t hurt the bees, but they’re not great for you while you’re printing.
- Skipping the deburring step: rough edges can tear a bee’s wings, and that translates directly into fewer bees using your house.
Conclusion
A properly sized, carefully printed entrance reducer does real work: it keeps predators and pests out while staying completely open to the mason bees you’re trying to host. Stick with PETG, keep your holes between 5.5 and 8mm, smooth out every printed edge, and always test-fit before you scale up. A single $20 spool of filament is enough to protect an entire season’s worth of mason bee broods, which is a pretty good return for an afternoon at the printer.