Dishwasher Rack Wheel Axles That Won't Crack: A Design Guide
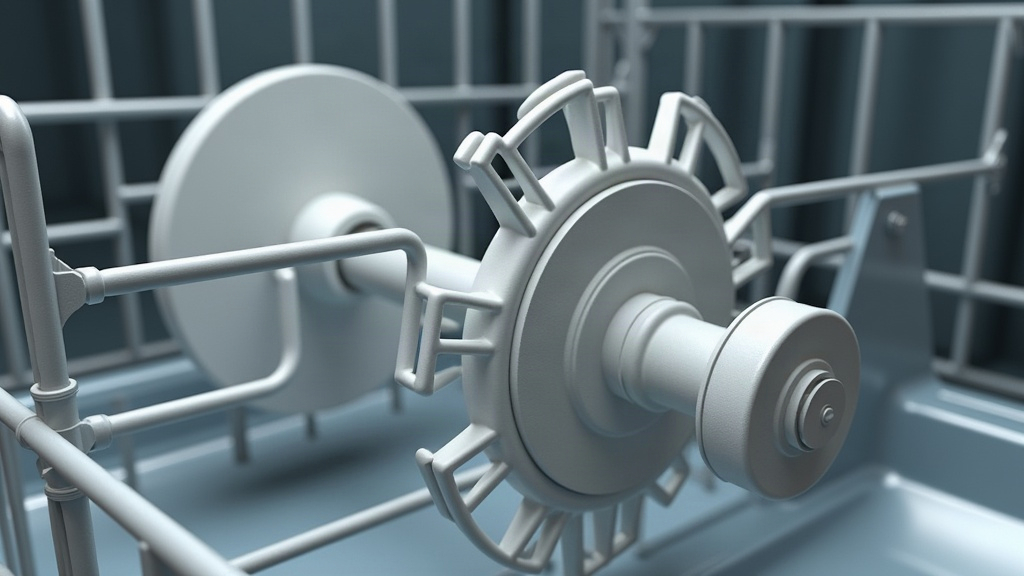
If your dishwasher’s upper or lower rack keeps dropping off its track, the culprit is almost always a cracked wheel axle, that small plastic pin holding the roller wheel onto the rack frame. Here’s why these axles fail in the first place, and how to pick or design a replacement that won’t snap again six months from now.
Why Dishwasher Rack Axles Crack in the First Place
Most OEM dishwasher rack wheels use a thin plastic axle (usually nylon or polypropylene) snapped or pressed into the rack frame. These things fail for a handful of predictable reasons, and once you see the pattern, it’s hard to unsee it:
- Heat cycling fatigue: Dishwashers hit 130-165°F during wash and dry cycles. Run that through hundreds of cycles and the repeated expansion and contraction makes plastic brittle, especially at the thinnest cross-section of the axle. That’s usually the first spot to go.
- Stress concentration at the snap-fit joint: Most axles have a small lip or barb molded in to lock them into the rack. That sharp internal corner is exactly where cracks start. It’s a textbook stress-riser problem, the kind mechanical engineers learn to avoid on day one.
- UV and detergent exposure: Some plastics break down faster under alkaline detergents and heat. Give it a year or two and the material turns chalky, almost powdery, and loses whatever strength it had.
- Overloading: Pile heavy pots or a cast-iron skillet on one side of a rack and you’re putting uneven lateral force on an axle that was never built to carry it.
If you’ve already swapped a wheel axle once and it broke again, that’s not bad luck talking. Nine times out of ten, it’s a mismatch between axle geometry (or material) and the actual load it’s under.
What Makes a Replacement Axle Actually Durable
1. Choose the Right Material
Skip the generic brittle nylon clones sold in bulk. Look for:
- Glass-filled nylon (PA66-GF): Adds stiffness and heat resistance without turning brittle as fast. Quality OEM replacements from Whirlpool, Bosch, and LG tend to use this.
- Acetal (POM): Great fatigue resistance, low friction, a solid pick if the axle doubles as a bearing surface for the wheel.
- Steer clear of axles molded from recycled or “mystery plastic” multipacks you find online for a few dollars. Scroll through any appliance repair forum and you’ll find these are the most common repeat-failure complaint.
2. Increase the Fillet Radius
Printing or sourcing a custom axle? The single biggest fix is rounding that internal corner where the axle meets the rack tine or base. Swap a sharp 90° corner for a fillet radius of at least 0.5 to 1mm, and you can cut stress concentration dramatically, sometimes extending fatigue life several times over. It’s a small change with an outsized payoff.
3. Match the Diameter and Length Precisely
Measure twice before you order anything:
- Axle diameter: Usually 4-6mm on standard racks. Go even slightly loose and the wheel wobbles, adding a shock load every single time the rack rolls over the track lip.
- Shoulder length: Too short, and the wheel binds against the rack tine. Too long, and it can’t seat fully, leaving the snap-fit under constant preload stress even when the dishwasher’s just sitting there doing nothing.
4. Consider a Two-Piece Design
Instead of one plastic piece that both snaps in and spins the wheel, some aftermarket kits use a separate stainless steel pin running through a plastic wheel hub. That splits the job: the metal pin takes the bending stress, the plastic only has to handle rotation. For racks that see heavy loads on a regular basis, this setup just lasts longer.
How to Replace It Without Breaking the New One
- Remove the rack and pull the broken wheel/axle assembly. Most pop right out with a little gentle prying from a flathead screwdriver or a trim tool.
- Clean the mounting hole of any leftover plastic shards. Even a tiny piece of debris can keep the new axle from seating flush.
- Press the new axle in slowly and evenly. Don’t hammer it in. Uneven force on one side of the barb is a surprisingly common way to crack a brand-new axle on day one.
- Spin the wheel by hand before reloading the rack. It should turn freely, no scraping, no catching.
- Go easy on that rack corner for the first few cycles while the material settles in.
When to Replace the Whole Rack Instead
Had three or more wheel axles crack on the same rack within a year? At that point, the problem probably isn’t the axles, it’s the rail track itself. A worn or misaligned track makes every wheel take extra impact, axle after axle. Replacing individual axles at that stage is a losing battle. A full rack replacement, usually $25 to $60 for an aftermarket unit, will save you far more time and money down the road.
Conclusion
Dishwasher rack wheel axles crack because of brittle plastic, sharp stress-concentrating corners, and heat fatigue, not bad luck. Pick a glass-filled nylon or acetal replacement, insist on a rounded fillet at the mounting joint, match your dimensions exactly, and consider a metal-pin hybrid if your racks take a beating. Do that and you’re looking at years of trouble-free rolling instead of another cracked wheel next season.