How to Model Flexible Living Hinges for Battery Compartment Doors
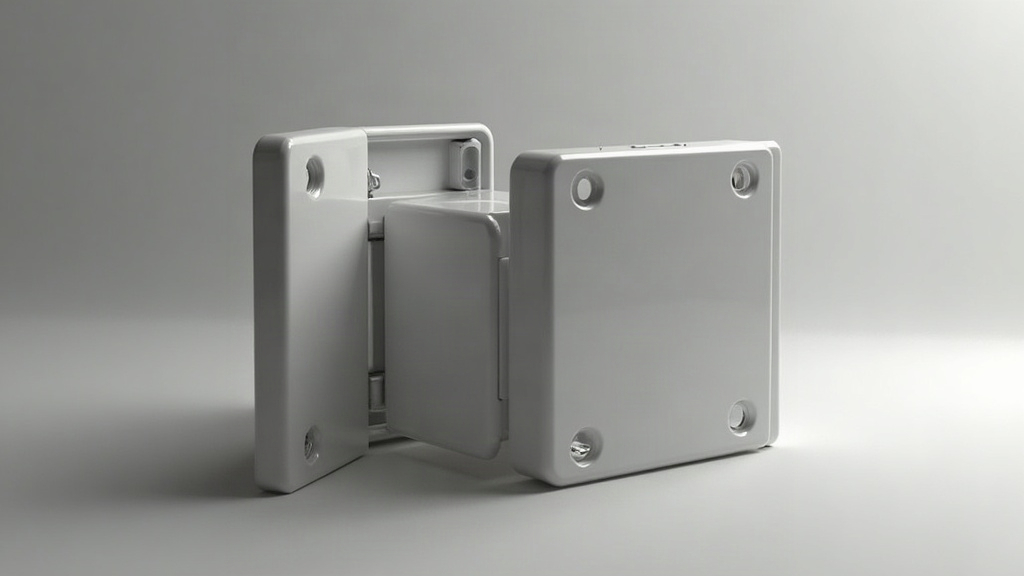
Living Hinges for Battery Doors: A Practical Design Guide
Living hinges are thin, flexible strips of plastic that let a battery door swing open and shut thousands of times, no pin, no spring, nothing extra to assemble. This guide walks through how to actually model one that survives a drop test and years of daily use: geometry, material picks, wall thickness, and the spots where these hinges tend to fail first.
What Is a Living Hinge and Why Use One for Battery Doors
A living hinge is just a thinned section of the same material as the part around it, molded in one shot, and bent back and forth without cracking. On battery compartments it earns its keep because:
- No extra parts (pins, springs, screws), no extra assembly step.
- Cheaper at volume, every injection molding run.
- Seals better against dust and water than a pinned hinge ever will.
- Lets you add a snap latch on the opposite edge so the door stays shut with zero hardware.
The catch? Small parts make this harder. On a typical battery door the hinge strip might only be 2-3mm wide. That’s not much room to get the geometry wrong.
Choosing the Right Material
Not every plastic can bend a few thousand times without snapping. Two materials actually hold up:
- Polypropylene (PP) is the default choice for a reason. Its semi-crystalline structure realigns along the flex axis after the first bend, so the hinge gets tougher, not weaker, with use.
- TPU or other elastomers work when you want a softer, rubbery feel. Usually this means overmolding a soft insert rather than molding the hinge from one material.
Steer clear of ABS, polycarbonate, or glass-filled nylon for the hinge itself. They’ll crack within a few dozen cycles, full stop, even though they’re perfectly fine for the rigid door body around them. Need ABS for rigidity elsewhere in the enclosure? Then design the hinge as a separate PP insert, or just go with a real mechanical pin hinge instead.
Core Geometry Rules
Hinge Thickness
Stay between 0.2mm and 0.5mm for the hinge wall, depending on overall part size. For a small door in the 20-40mm range, 0.3mm is a solid starting point. Go thinner and it flexes more easily, sure, but now it’s harder to mold consistently and easy to damage by hand before the part fully packs out.
Hinge Length
Don’t make it a knife-edge crease. The flex zone should run at least 0.6-1.0mm in the bend direction. Too short, and all the stress piles up in one tiny strip that cracks fast. A bit more length spreads that strain across more material, and the hinge lasts longer for it.
Transition Radii
Never jump straight from a thick door wall into a paper-thin hinge. Add a real radius, 0.5mm minimum, on both sides where the hinge meets the thicker sections. Sharp corners act as stress risers. This single detail is probably the number one cause of early hinge failure, more than material choice even.
Pre-Bending in CAD
Where you can, model the hinge already in its closed, pre-flexed position, with 5-10 degrees of bend baked into the geometry from the start. This mirrors how PP actually behaves after its first flex cycle, and it cuts down on warping stress during molding.
Draft Angles and Gate Placement
The hinge is thin enough that how the plastic fills the mold matters just as much as the shape itself:
- Keep draft minimal across the hinge face, 0.5° max, so the cavity steel there stays strong enough to survive production.
- Place the gate so melt flows across the hinge rather than dead-ending past it. This keeps polymer chains lined up along the flex direction instead of fighting it.
- Don’t let a weld line land at the hinge. If flow has to split somewhere, move the gate rather than accept a weld line right where the part needs to flex.
Testing the Design
Don’t commit to steel until you’ve run through these:
- 3D-printed prototypes in flexible resin or TPU, just to check door swing and fit. Don’t expect these to predict fatigue life though; FDM and SLA parts behave nothing like injection-molded PP under repeated bending.
- Cycle testing on first-shot molded parts. Flex it 3,000-5,000 times by hand or with a basic fixture, and watch the hinge root for whitening or cracks.
- Cold temperature testing. PP turns brittle somewhere around -10°C. If this device ever sits in a cold truck, a ski jacket, or an outdoor enclosure, test at whatever the real minimum temperature will be.
Common Mistakes to Avoid
- Making the hinge thicker “just to be safe.” This backfires badly. A 0.6mm+ PP hinge resists bending and cracks instead of flexing the way it’s supposed to.
- Sharp internal corners at the hinge-to-wall junction, again.
- Using the wrong resin, specifically the same rigid material as the enclosure walls, without ever checking its flex-fatigue numbers.
- Skipping the latch lead-in. No chamfer on the closing latch means users will yank the door and over-flex the hinge trying to force it shut.
Conclusion
Get four things right and the hinge will hold up: pick a fatigue-resistant material like PP, keep the thickness in that 0.2-0.5mm band with generous transition radii, point the mold flow across the hinge rather than into it, and actually cycle-test before you cut steel. Nail those, and the battery door will outlast the rest of the product around it.