How to Model Breakaway Alignment Pins for Cosplay Helmets
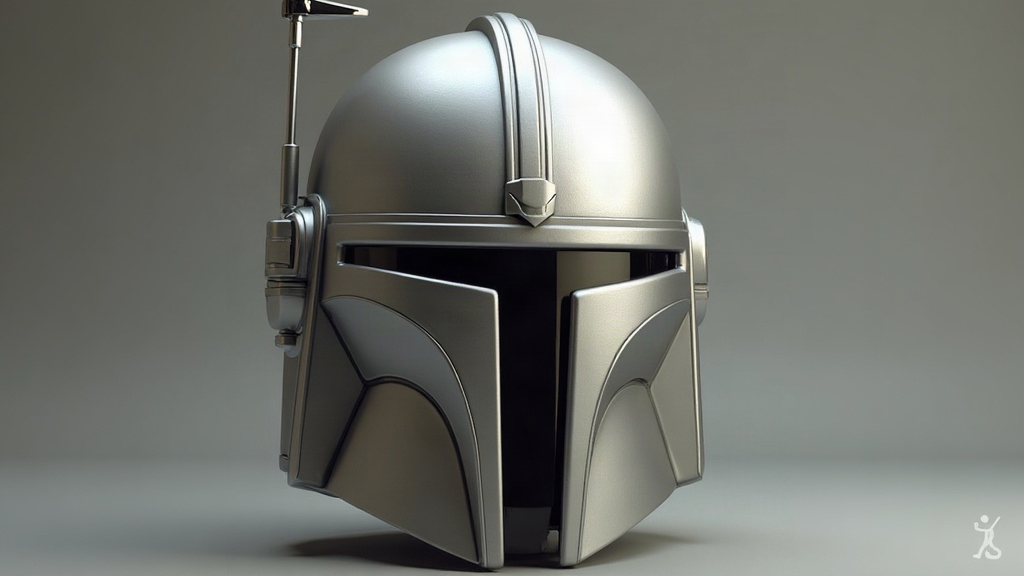
Breakaway Alignment Pins for Two-Part Cosplay Helmets
Breakaway alignment pins are small sacrificial connectors that let the two halves of a 3D-printed cosplay helmet snap together precisely during test-fitting, then pop apart cleanly when you need to separate the shells again, whether that’s for painting, wiring up LEDs, or just packing the thing flat for a convention flight. This guide covers how to design pins that align dead-on, hold firm under normal handling, and release without chewing up your print.
Why Breakaway Pins Matter for Two-Part Helmets
Most cosplay helmets split somewhere along a visor line, jaw seam, or back panel, partly so they’ll fit over your head and partly so they can actually be printed on a standard-size bed. Here’s the catch: once you glue or screw the halves together for good, you’ve lost your shot at repainting, fixing electronics, or tweaking the foam padding down the line.
Breakaway pins get around this. They give you:
- Repeatable alignment, the pin and socket geometry forces the two halves into the exact same position every single time you put them back together.
- Temporary strength, enough friction or snap-fit to hold the helmet steady for test-wearing or a quick photo session.
- Controlled failure, the pin is built to shear or pop loose at a known point instead of cracking your shell somewhere random and expensive to fix.
Step 1: Define the Split Line First
Before you even touch the pin geometry, lock in where the helmet actually separates. Common options:
- Vertical ear-to-ear split (the usual choice for full-face helmets)
- Horizontal brow split (works well when the visor is a separate piece)
- Diagonal jaw split (handy for mecha-style or masked designs that want a hinge-like look)
Model the split as a single flat plane, or one with a slight curve, cutting through your helmet mesh. Flat is easier to align. Curved hides the seam better once paint goes on top.
Step 2: Choose the Pin Type
Three breakaway pin styles hold up well on both FDM and resin prints:
1. Friction Pins
Basically a cylindrical peg, 4-6mm across, dropped into a slightly undersized hole. Give it 0.1-0.15mm clearance per side on FDM, closer to 0.05mm on resin. Easiest style to model and print, but it’s also the weakest in terms of holding strength.
2. Snap-Fit Pins
A peg with a small conical or barbed tip that compresses as it pushes into the socket, then pops past a lip for a satisfying click. Design the flex wall on the barb around 0.8-1.2mm thick, ideally in a flexible filament zone, or just print the pin itself in PETG for extra give.
3. Shear Pins (True Breakaway)
A deliberately skinny cross-section, 1.5-2mm, at the pin’s base. Strong enough to keep alignment, but it’ll snap cleanly the moment you pry the halves apart on purpose. This is the one to pick if you plan to glue the seam permanently later but still need removable alignment while you’re fitting and testing.
Step 3: Model the Pin and Socket
Whatever CAD tool you’re in (Fusion 360, Blender, Shapr3D, doesn’t matter much):
- Place 3-5 pins evenly along the split line. Skip thin edges or curved sections that are prone to warping.
- Keep each pin simple, a cylinder or hex post, 6-10mm long.
- Add a lead-in chamfer (0.5mm, 30-45°) on both the pin tip and the socket opening, so the halves self-align even if a print came out slightly off.
- Vary the pin diameters a bit, say 5mm, 5.5mm, 6mm, so the two halves can only go together one way. That alone kills the “wait, is this upside down?” problem.
- Keep pins perpendicular to the split plane rather than angled, so the force needed to pull them apart stays straight and predictable instead of twisting sideways.
Step 4: Test Tolerances Before Final Print
Print a small test strip first, 3-4 pin/socket pairs at clearances spaced 0.05mm apart. Takes maybe 20 minutes of print time and saves you from reprinting an entire helmet half because the fit turned out too tight.
Step 5: Reinforce Without Overbuilding
Add a small boss (a raised circular pad, 1-2mm tall) around the base of each pin to spread out stress and keep the socket wall from cracking. Don’t go overboard on depth either, 8-10mm tends to be the sweet spot between holding strength and actually being able to pull the thing apart later.
Common Mistakes to Avoid
- Too few pins. Go below three and you’ll get wobble and an uneven seam line.
- Uniform pin sizing. Makes it way too easy to assemble the helmet backward or upside down without noticing until it’s too late.
- Zero clearance. Layer lines fuse together and the pins basically weld in place, never releasing.
- Pins placed near thin shell edges. The shell cracks before the pin ever gives.
Conclusion
Get the split line sorted first, pick a pin style that matches how much strength you actually need, vary the sizes so assembly can only go one way, and run a small tolerance test before committing to the full print. Do that and breakaway pins turn what’s normally a fiddly two-part helmet build into something repeatable, with a seam that’s ready for paint and detailing and no nasty surprises when it’s time to pull the halves apart.