Snap-Fit Enclosures for Resin 3D Printing Without Cracking
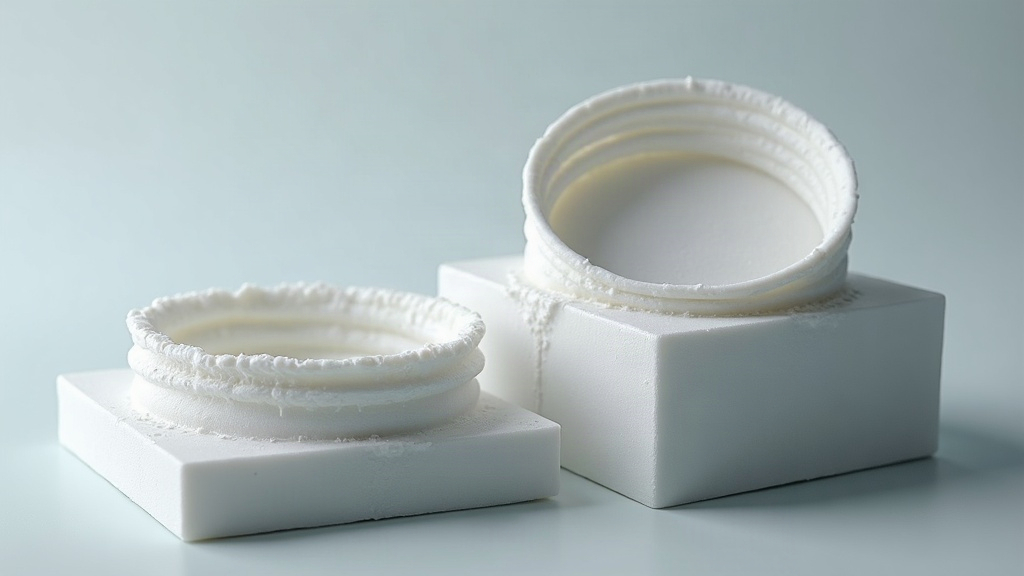
Designing snap-fit enclosures for resin 3D printing without cracking means giving up on the idea that resin behaves like injection-molded plastic. It doesn’t. Standard resins tend to be stiff and brittle, so a snap fit that survives more than a few open-close cycles depends on flexible geometry, conservative deflection, the right material, and clearances you’ve actually tested rather than guessed at. Get the hook shape and wall design right and a resin-printed enclosure can snap together securely while still being easy to pry open when you need to get inside, though the design principles for FDM printing differ significantly due to material properties.
Why Resin Snap Fits Crack More Easily
A snap fit works by bending a feature during assembly and letting it spring back behind a mating ledge. Do that with polypropylene or ABS and the part barely notices, tough thermoplastics shrug off repeated flexing. Photopolymer resins are a different story. Most have lower elongation at break, which is a fancy way of saying they don’t stretch much before they give up and snap.
Push a resin snap arm just a little too far and it can fracture on the first try, not the hundredth. Cracking shows up especially often when a design has:
- Thin, sharp-edged hooks
- Deep undercuts that demand a lot of assembly force
- Narrow roots where the snap arm meets the enclosure body
- Parts that were poorly cured, or left under UV too long
- A “rigid” standard resin used somewhere it needed to flex
- Layer orientation that puts stress right across weak layer boundaries
Here’s the mindset shift: the goal isn’t a tighter snap. It’s a feature that bends gradually, moves a short distance, and spreads stress across as much material as possible instead of loading up one thin spot.
Choose a Resin Intended for Functional Parts
Material choice is really the foundation everything else sits on. Basic standard resin is fine for a display housing you’ll assemble once and never touch again, but it’s a bad match for an electronics case someone will pop open every week to swap a battery or check wiring.
Look for something described as tough, durable, ABS-like, or impact-resistant. Then actually read the data sheet, not just the marketing blurb, for:
- Elongation at break: higher numbers usually mean more flex before the part fails.
- Impact strength: matters a lot if the enclosure ever gets dropped or squeezed in a bag.
- Tensile modulus: lower modulus generally gives snap arms more useful give.
- Heat resistance: critical if the enclosure sits near batteries, motors, LEDs, or anything that runs warm.
If people are going to open the case constantly, don’t fight physics. Design a screw-fastened enclosure instead of stacking snap after snap. A hybrid setup, say two alignment pins plus two small screws, is often far more reliable than four or five resin snaps trying to do all the work.
Use Cantilever Snap Fits With Gentle Geometry
For most resin enclosures, a cantilever snap fit is the safest place to start. It’s just a flexible arm with a small hook at the tip. During assembly the hook rides up over a matching ledge and drops into place with (hopefully) a satisfying click instead of a crack.
Make the Arm Longer Than You Think
Longer arms bend more gradually, which means less stress piling up at the root. It feels counterintuitive, but a longer arm is actually the safer bet.
As a starting point:
- Use a snap arm length of at least 8 to 15 mm for small enclosures.
- Keep arm thickness around 1 to 2 mm, adjusted for resin toughness and part size.
- Aim for a length-to-thickness ratio of roughly 8:1 or better wherever you have the room.
- Resist the urge to make the arm thicker “for strength.” Thick arms just need more force to bend, and more force means more stress at the exact spot that’s already weakest.
In brittle resin, a thin, long arm beats a short, chunky one almost every time.
Add Fillets at the Root
The root, where the snap arm joins the main wall, takes the brunt of the bending stress. It’s also the single most common place these things crack.
Put generous fillets on both sides of the root. A good rule of thumb: make the fillet radius at least equal to the arm thickness. So a 1.2 mm arm wants a fillet of 1.2 mm or more, not a token 0.3 mm chamfer.
Skip sharp corners, abrupt transitions, and narrow necks entirely. Smooth geometry lets stress spread out through the material instead of pooling at one sharp point waiting to fail.
Reduce the Undercut Depth
The undercut is how far the hook engages behind the mating ledge. Deeper undercut, stronger lock, sure. But it also means the arm has to flex further during assembly, and that’s exactly the deflection that snaps brittle resin.
Start conservative:
- Undercut of roughly 0.3 to 0.6 mm for small enclosure snaps.
- A shallow entry ramp, around 30 to 45 degrees.
- A near-vertical locking face only if the case genuinely needs to resist being pulled apart.
- Several light-duty snaps rather than one heavy, aggressive one.
If a hook needs a big deflection just to clear the ledge, that’s not a part you force together with extra pressure and a hopeful attitude. Redesign it.
Build in Realistic Clearances
Resin printers can hit impressive detail, but cured resin, leftover support marks, and post-processing all chip away at your nominal dimensions. Design an enclosure with zero clearance and the halves will fuse together, bind up, or just crack when you press them closed.
For mating enclosure halves, these ranges are a reasonable starting point:
- General wall-to-wall clearance: 0.2 to 0.35 mm per side
- Alignment pins and holes: 0.15 to 0.3 mm radial clearance
- Snap hook engagement clearance: enough room for the hook to travel freely without rubbing the whole way
- Lid seam gap: around 0.2 mm, tight enough to look clean, loose enough to avoid interference
Before committing an entire print run to your final enclosure, print a small test coupon with just the snap arm, mating ledge, and alignment features. It costs almost nothing in resin and tells you fast whether your printer and resin combo needs different tolerances than the numbers above.
Orient the Print to Support the Snap Arm
Print orientation shapes both surface finish and mechanical strength. You don’t want a snap arm oriented so its main bending force is fighting to peel layers apart.
Where you can, orient the part so bending stress runs along the printed layers rather than straight across them. Support placement matters too:
- Keep supports well away from the snap arm root and the hook’s contact surfaces.
- Don’t let support scars land where the hook slides over the ledge.
- Angle the enclosure to cut down on suction and trapped resin pockets inside.
- Wash internal channels thoroughly before curing, not just a quick dunk.
Skip a step in washing and uncured resin can sit hidden inside thin features. Overdo the UV cure and some resins actually get more brittle, not stronger. Follow the manufacturer’s curing guidance rather than assuming more UV time is automatically better.
Design for Assembly and Service
A good enclosure isn’t just one that closes securely, it should go together the same way every time and still be serviceable months later.
Use alignment pins, ribs, or a tongue-and-groove edge to position the two halves before the snaps ever engage. Without that, users end up twisting the lid to line things up, and that twisting overloads one snap arm while the others do nothing.
For a compact electronics enclosure, a layout that tends to work well:
- Two alignment pins near opposite corners
- Two cantilever snaps along the longer sides
- A shallow perimeter lip to stop lateral shifting
- A small pry notch so people have an obvious, safe spot to open it from
Don’t cluster every snap on one side of the case. Spread them out so the load is balanced, it makes the enclosure feel sturdier and noticeably more professional in the hand.
Conclusion
Reliable snap-fit enclosures for resin 3D printing come down to low-stress geometry, a resin tough enough for the job, generous root fillets, shallow undercuts, and clearances you’ve actually tested rather than assumed. Keep the snap arms long and flexible, let alignment features do the work of positioning the halves, and always print a small fit test before you commit resin to the final case.