DIY Crochet Blocking Comb Sets with Smooth Rounded Pins
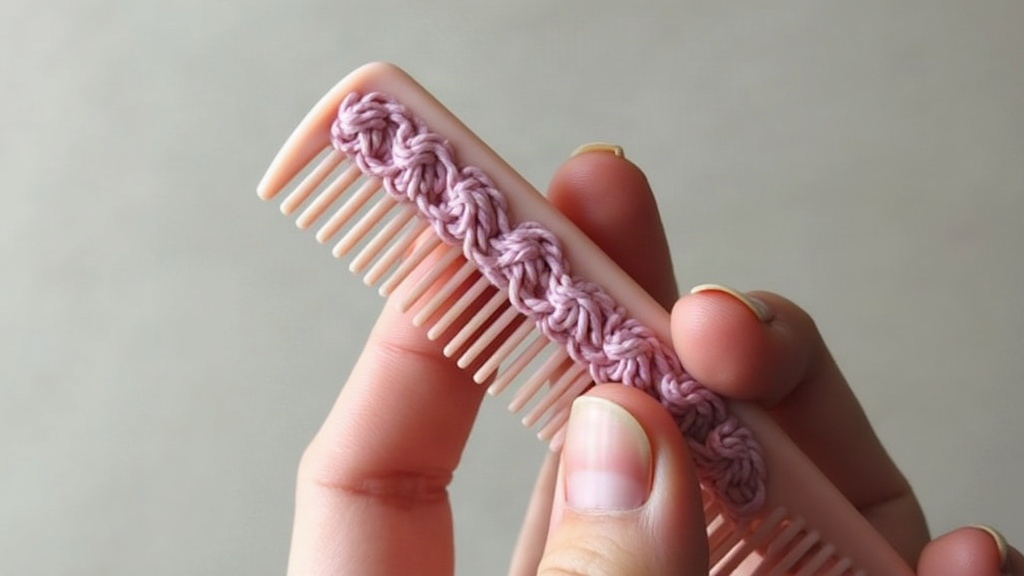
If you crochet lace shawls, doilies, or granny square blankets, you already know blocking can make or break the finished piece. A beautifully stitched shawl can still look flat and lifeless if it isn’t shaped properly afterward. Custom crochet blocking comb sets with smooth, rounded pins give you precise, repeatable shaping without snagging delicate yarn or leaving those little sharp dents behind. This guide walks through designing, making, and using your own set, from picking the right material down to spacing the pins correctly, so you can get results that look like they came from a finishing studio, not a kitchen table.
Why Smooth Rounded Pins Matter
Standard metal blocking pins or T-pins do the job, sure, but they come with baggage. They can:
- Snag mohair, silk, or loosely spun fibers (anyone who’s pulled a pin out of a mohair shawl knows the sinking feeling)
- Leave rust marks on white or pastel yarn if left out overnight in a humid room
- Slip out of foam boards once the fabric tension pulls against them
- Poke fingers during setup, which gets old fast if you’re pinning a 40-point shawl edge
Rounded, smooth-tipped pins, usually wood, bamboo, or coated metal, glide into the fiber rather than stabbing through it. That gentler entry spreads tension more evenly across the stitches. It matters most in lace blocking, where you’re stretching open, airy patterns to reveal the actual shape hiding inside all those chains and spaces.
Materials You’ll Need
- Pin stock: 1/8” to 3/16” dowel rods (birch or bamboo work well), or smooth stainless rods with rounded caps
- Comb base: scrap hardwood, acrylic sheet, or 3D-printed PLA
- Sandpaper: 220 and 400 grit for finishing
- Wood glue or epoxy: to secure pins into the base
- Drill with matching bit size: for pin holes
- Ruler and marking pencil: for even spacing
- Beeswax or mineral oil: optional wood conditioning
Step-by-Step: Building Your Comb Set
1. Decide on Comb Shapes
Most crocheters do fine with 3-4 comb variations in their toolbox:
- Straight edge comb – for blocking squares and rectangles
- Curved comb – for shawl points and scalloped edges
- Picot-point comb – widely spaced pins for picot or shell edging
- Fine-tooth comb – closely spaced pins for delicate lace repeats
2. Cut and Shape the Base
Cut your base material into strips about 1” wide, and as long as you need, 6” to 12” covers most projects. Sand every edge smooth. This is the part your hand touches constantly while pinning, so comfort isn’t a luxury here, it’s the whole point.
3. Mark Pin Spacing
Spacing really comes down to your typical gauge:
- Fine lace (fingering/lace weight): pins every 1/4” to 3/8”
- DK/worsted weight: pins every 1/2” to 5/8”
- Bulky projects: pins every 3/4” to 1”
Mark the holes with a pencil and ruler before you touch the drill. A wandering line ruins the whole set.
4. Drill and Insert Pins
Drill holes just a touch narrower than your dowel diameter so you get a snug friction fit, then add a dot of wood glue before pushing each pin in. Leave the pins proud of the base by 1.5” to 2”, enough reach to anchor firmly into a foam blocking mat without the comb lifting off.
5. Round and Smooth the Pin Tips
This is the step that separates a comb your hands actually enjoy using from one that scratches every piece it touches:
- Sand each pin tip into a gentle dome, not a point
- Finish with 400-grit sandpaper until there’s genuinely no rough edge left, run your finger over it and check
- Wipe with a slightly damp cloth to clear the dust, then let it dry completely before moving on
6. Seal and Condition
A light coat of beeswax or food-safe mineral oil keeps the wood from soaking up moisture during wet blocking sessions. Skip this step and after a few soakings you’ll find pins swelling, cracking, or splintering at the tips.
Using Your Custom Comb Set
- Wet or steam-block your piece the way you normally would.
- Press the comb into the fabric at scallop points, shawl tips, or repeating edge motifs.
- Push the pins through into your foam board or interlocking mats until the comb sits flush.
- Leave it to dry fully, usually 12-24 hours, though humid rooms or heavier fibers can push that closer to 36.
Combs earn their keep on repeating edge patterns especially. One pass anchors four or five stitches at once instead of you fumbling with a handful of loose pins and losing count halfway through.
Storage Tips
Store your combs flat, in a case or wrapped in cloth, so the pin tips stay protected. Don’t stack anything heavy on top of them. Thinner dowel pins bend under pressure over time, and a bent comb never blocks quite right again.
Conclusion
Custom crochet blocking comb sets with smooth rounded pins aren’t some fussy extra, they protect hours of stitching work, cut blocking time on repetitive edges, and give lace patterns the crisp, defined shape they’re supposed to have. With a handful of basic woodworking supplies and one patient afternoon of sanding, you can build a set matched exactly to your gauge and your typical projects. Cheaper than most store-bought kits too, and it’ll fit your hands in a way no factory comb ever quite manages.